Lesson#66: How to take print in excel?

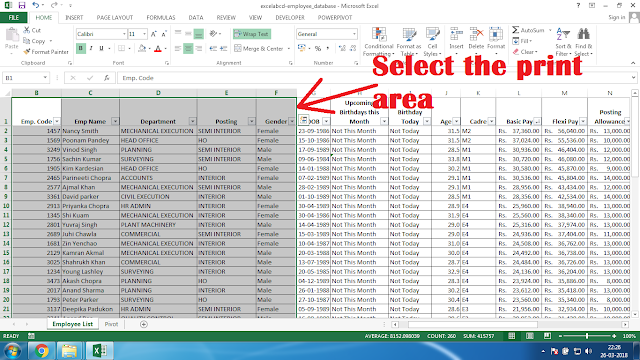

Then you have to go to the Page Layout tab and click on the Print Area>Set Print Area
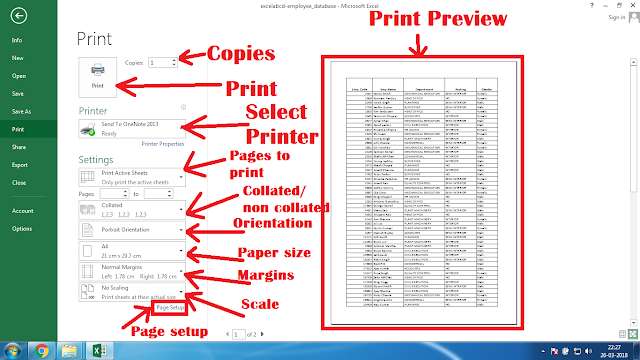
Then go to FILE>Print or you can press Ctrl+P where the Print window will appear as I have shown in the above picture.
Copies: Here you can set how many copies you want to print.
Printer: Select the printer from there.
Print Active Sheets: Here you can set from which page to which page you have to print or by default the entire sheet will be printed.
Collated/Non-Collated: Collated means if the copies are more than one then the printer will print the complete copy and then it will start another, whereas non-collated means it will print out the total number of copies of every page that you have set for print.
Orientation: It sets the orientation of the print (Landscape/ Portrait).
Paper Size: You can select the paper size for print from here which variate depending upon the printer.
Margins: Margins set the margin of the sheet while printing.
Scale: Sets the scale of print which is shown in percentage.
Print Preview: In this area, you can preview your print while setting up before printing.
Print: Clicking on the Print button will take out the print.
Page Setup: Page Setup shows many options which are discussed below.⇓
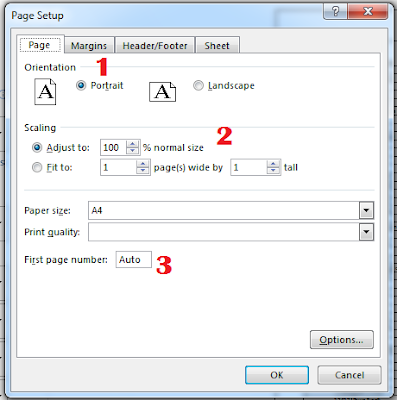
Clicking on Page Setup will show you this window where four tabs are available and these are Page, Margins, Header/Footer, and Sheet.
Discussing Page tab.
1. Orientation: Here you can choose the orientation of print (Portrait/ Landscape).
2. Scaling: Adjust the scale of printing.
3. Paper properties: Here you can set the paper size, paper quality, and starting page number.
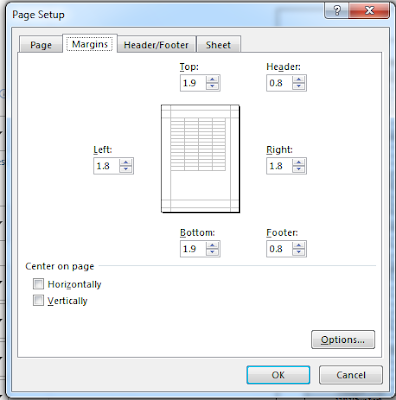
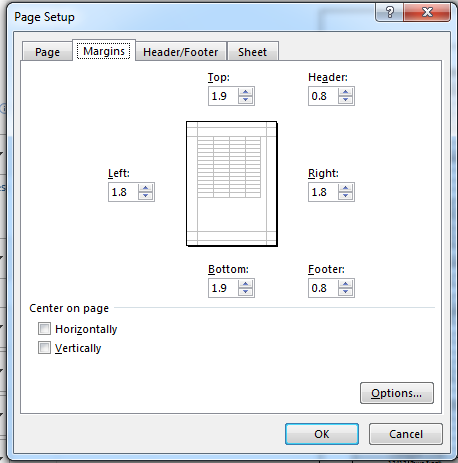
The Margin tab is for setting the margin of the page when printing.
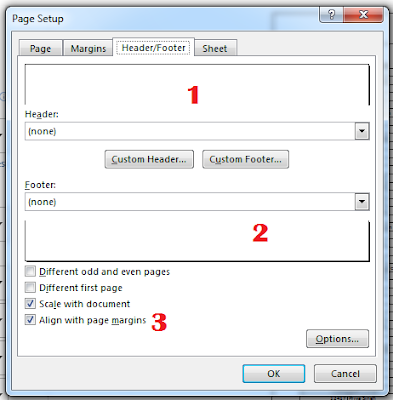
1. Header selection.
2. Footer selection.
3. Different odd and even pages, Different first pages, Scale with the document, Align with page margins.
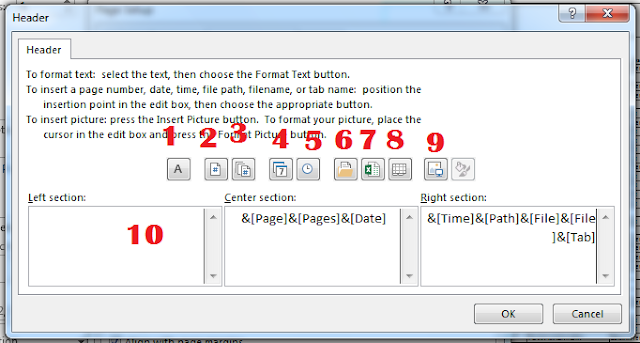
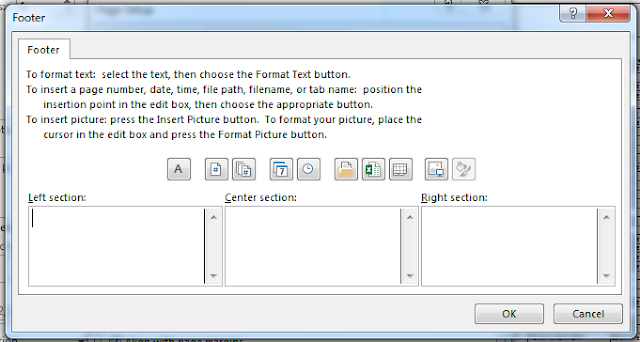
After clicking on Custom Header this window will appear where some options are available.
1. Format Text.
2. Insert Page Number.
3. Insert Number of Pages.
4. Insert Date.
5. Insert Time.
6. Insert File Path.
7. Insert File Name.
8. Insert Sheet Name.
9. Insert Picture and Format Picture.
10. Customizing area for Left, Center, and Right sections.
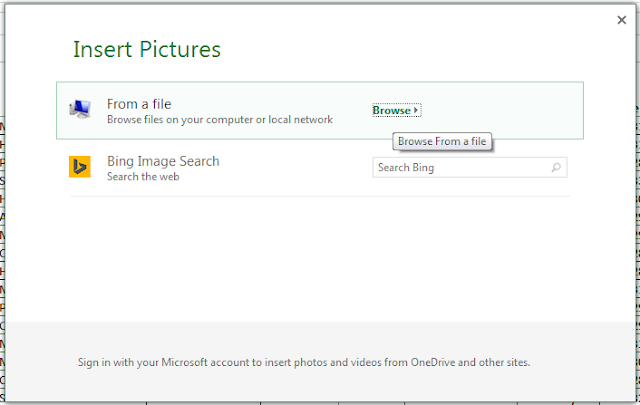
Clicking on the Insert Picture button shows a window like the above picture I have shown. There you can insert pictures in the Header or Footer from your computer/ LAN or Internet.

The Sheet tab shows you the options for
1. Print Area selection.
2. Rows to repeat at the top.
3. Columns to repeat at left.
4. Toggle Grid lines, Black and white, Draft quality, Row and column headings.
5. Displaying options for comments and cell errors.
6. Setting the page order.
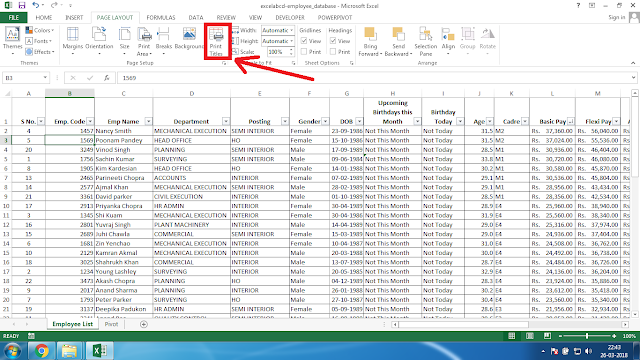
You can enter the Page Setup window by clicking on PAGE LAYOUT> Print Tiles
That’s a brief discussion about the printing from an excel sheet and we will discuss more in my later posts.
Hi! I am Pushpendu. I am the founder and author of Excelabcd. I am little creative person, blogger and Excel-maniac guy. I hope you enjoy my blog.