Lesson#176: Insert rows within a range with VBA

- Open the VBA editor: In Excel, press Alt + F11 to open the VBA editor.
- Create a new module: In the VBA editor, go to the Insert menu and select Module. This will create a new module where you can write your VBA code.
To create a program in Visual Basic for Applications (VBA) that inserts a specified number of rows after every row in a specified range, you can use the following code:
Sub InsertRows(rng As Range, numRows As Long)

' Loop through the rows in the specified range
For Each row In rng.Rows
    ' Insert the specified number of rows after the current row
    row.Offset(1, 0).EntireRow.Insert Shift:=xlDown, CopyOrigin:=xlFormatFromLeftOrAbove
Next row

End Sub
This code defines a subroutine called InsertRows that takes a range and a number of rows as input parameters. It loops through the rows in the range and, for each row, it inserts the specified number of rows after the current row using the Insert method of the Range object.
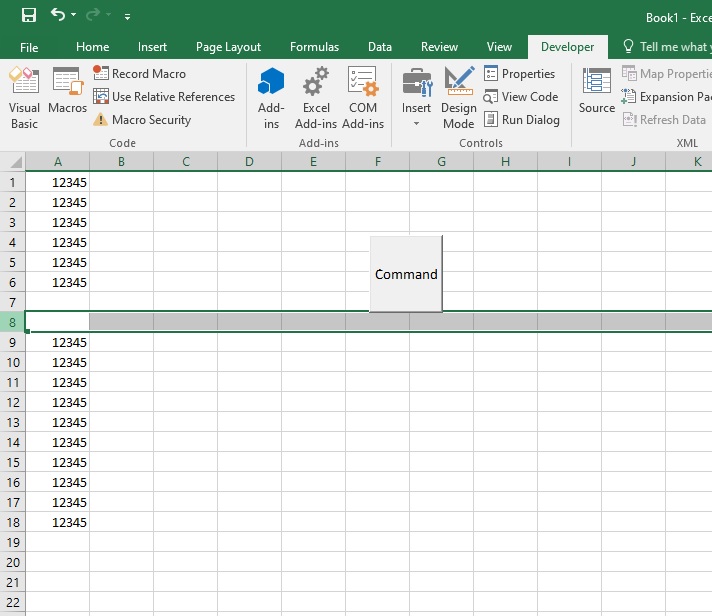
To use this code, you will need to place the InsertRows subroutine in a VBA module in your Excel workbook and then call it from another subroutine or from a button click event. For example, you could use the following code to insert 2 rows after every row in a specified range when a button is clicked:
Private Sub CommandButton1_Click()

Dim rng As Range
Set rng = Selection ' Set the range to the current selection

Call InsertRows(rng, 2)

End Sub
This will insert 2 rows after every row in the currently selected range when the button is clicked. You can also specify a different range by setting the rng variable to a different range object, and you can change the number of rows to be inserted by modifying the value of the numRows parameter.
See here the result.

Leave a Reply