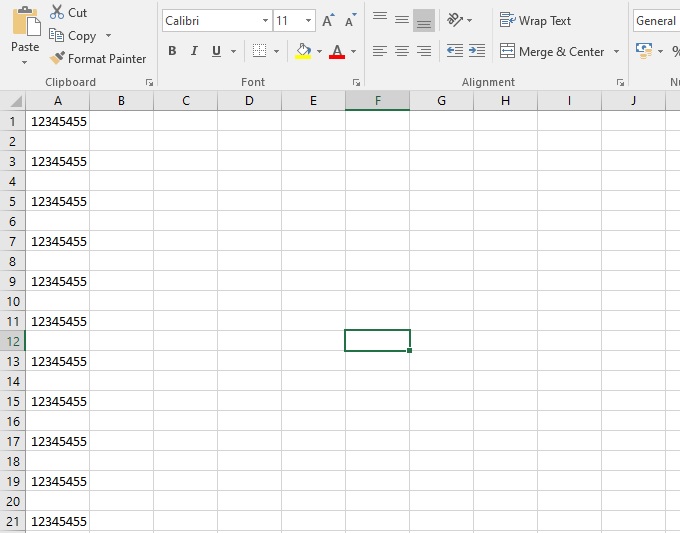
Lesson#177: Insert blank rows in Excel after every row in the sheet with VBA

Here we shall discuss how to Insert blank rows in Excel after every row in the sheet with VBA.
- Open the VBA editor: In Excel, press Alt + F11 to open the VBA editor.
- Create a new module: In the VBA editor, go to the Insert menu and select Module. This will create a new module where you can write your VBA code.
Here is a Visual Basic for Applications (VBA) code snippet that you can use to insert a blank row after every row in an Excel worksheet without using formulas:
Sub InsertBlankRows()
    ' Declare variables
    Dim currentRow As Long
    Dim lastRow As Long

    ' Get the last row in the worksheet
    lastRow = ActiveSheet.UsedRange.Rows.Count

    ' Loop through all rows in the worksheet
    For currentRow = lastRow To 1 Step -1
        ' Insert a blank row after the current row
        Rows(currentRow + 1).Insert
    Next currentRow
End Sub
This VBA code defines a Sub procedure called InsertBlankRows that inserts a blank row after every row in the active worksheet. The procedure declares two variables: currentRow to store the current row number, and lastRow to store the last row number in the worksheet.
The lastRow variable is initialized with the last used row number in the worksheet using the UsedRange.Rows.Count property. Then, the procedure uses a For loop to iterate through all rows in the worksheet from the last row to the first row, decrementing the currentRow variable by 1 on each iteration.
Inside the loop, the procedure uses the Insert method of the Rows object to insert a blank row after the current row. The loop continues until all rows in the worksheet have been processed.
To run this VBA code, you can create a new module in your Excel workbook and paste the code into it. Then, you can call the InsertBlankRows procedure by clicking on the “Run” button or by pressing the F5 key.
This VBA code does not use any formulas and can be used to insert blank rows after every row in a worksheet quickly and efficiently.

Leave a Reply