Lesson#121: How to make some cells unprotected when protecting a sheet
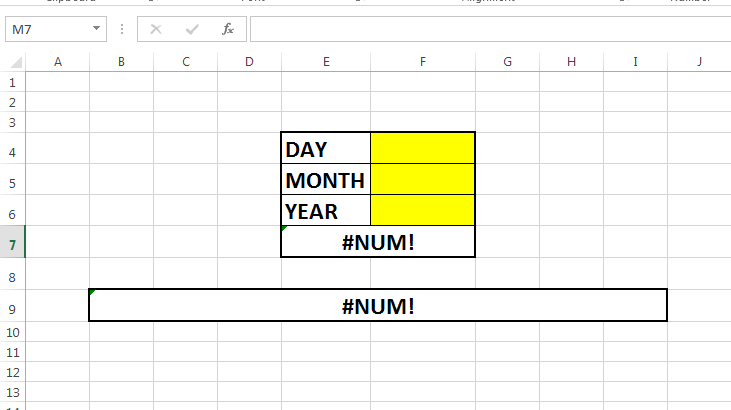
OK, I am having a sheet here which calculates the age when the birth date is provided. I need to protect the sheet before giving it to users. So none of them change the structure or formula. But I also need to make some cells unprotected to make the user enter necessary data. I have colored those cells yellow which I will leave unprotected.
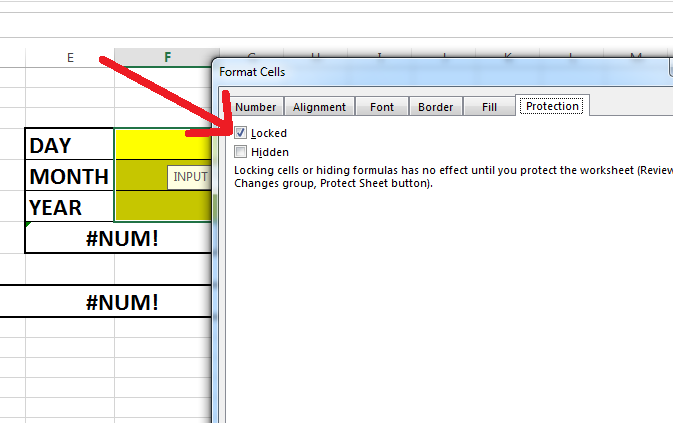
So for that select those specific cells and right-click on them. Then click on Format Cells. Select the Protection tab where you can see the Locked option is already selected. By default Locked option is always selected for any cell. But this has effect only when you have protected the sheet. You have to deselect the Locked option for these specific cells only.
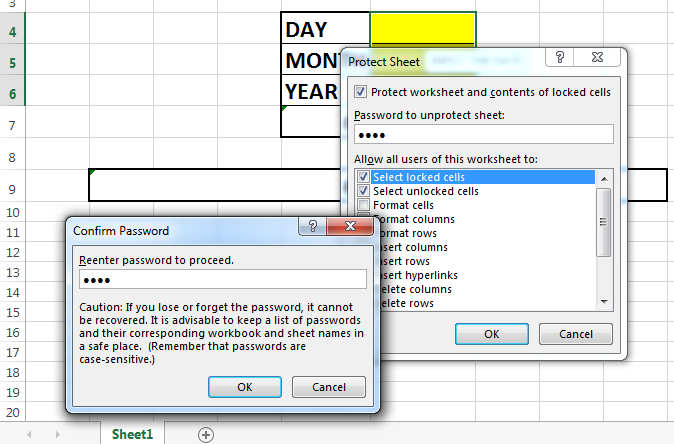
Now right-click on the sheet tab and click on Protect Sheet and then put a password and re-enter the password and OK.
That’s how it is done. Now only those three yellow cells are left unprotected for users.
Hi! I am Pushpendu. I am the founder and author of Excelabcd. I am little creative person, blogger and Excel-maniac guy. I hope you enjoy my blog.
Need the solution on reverse condition..
Where want to protect some cells in a Excel sheet..
Ok then Select the whole sheet by pressing Ctrl+A then right click on sheet, click Format Cells, Protection tab, de-select Locked option. Now select only those cells which you want to protect and by following same method select the Locked option. and then protect the sheet. done.